Once you started to write a story a toolbar appears at the bottom of the page:
You can add Heading by pressing “H” button on the toolbar:
Select any text element to edit it using the toolbar.
Add Text by pressing “Aa” button on the toolbar:
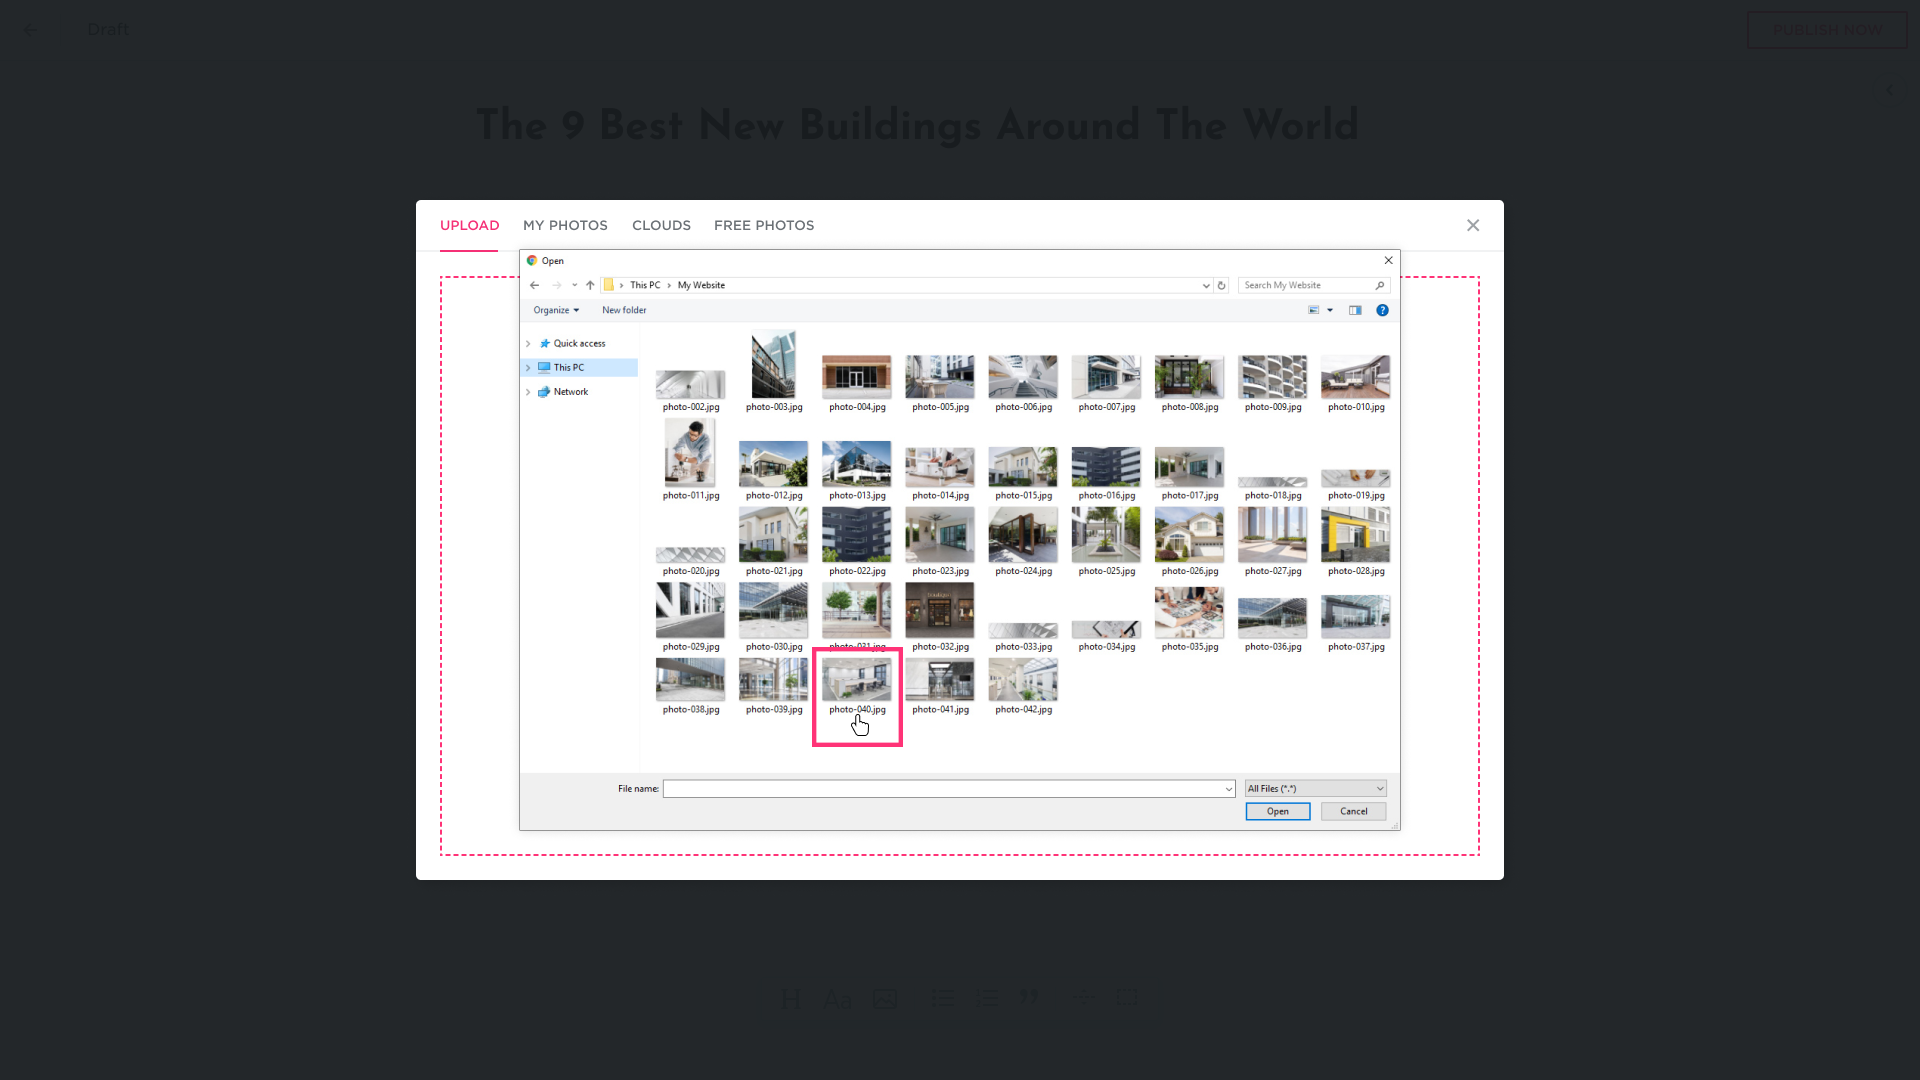
Add a photo by pressing the “Photo” button on the toolbar: To locate an image on your computer, click inside the DRAG & DROP frame to open the Upload from Your Computer dialog and select the image to upload:

The image is added to the post:
You can edit an image by clicking on it:
Replace an image:
Add a link to the image:
Link the image to a page on the site you are building, an external URL, a file, an email address, or a phone number:
Add a Color Overlay to your image:
Change the overlay color:
Choose the desired image size by selecting “Default”:
By selecting “Wide”: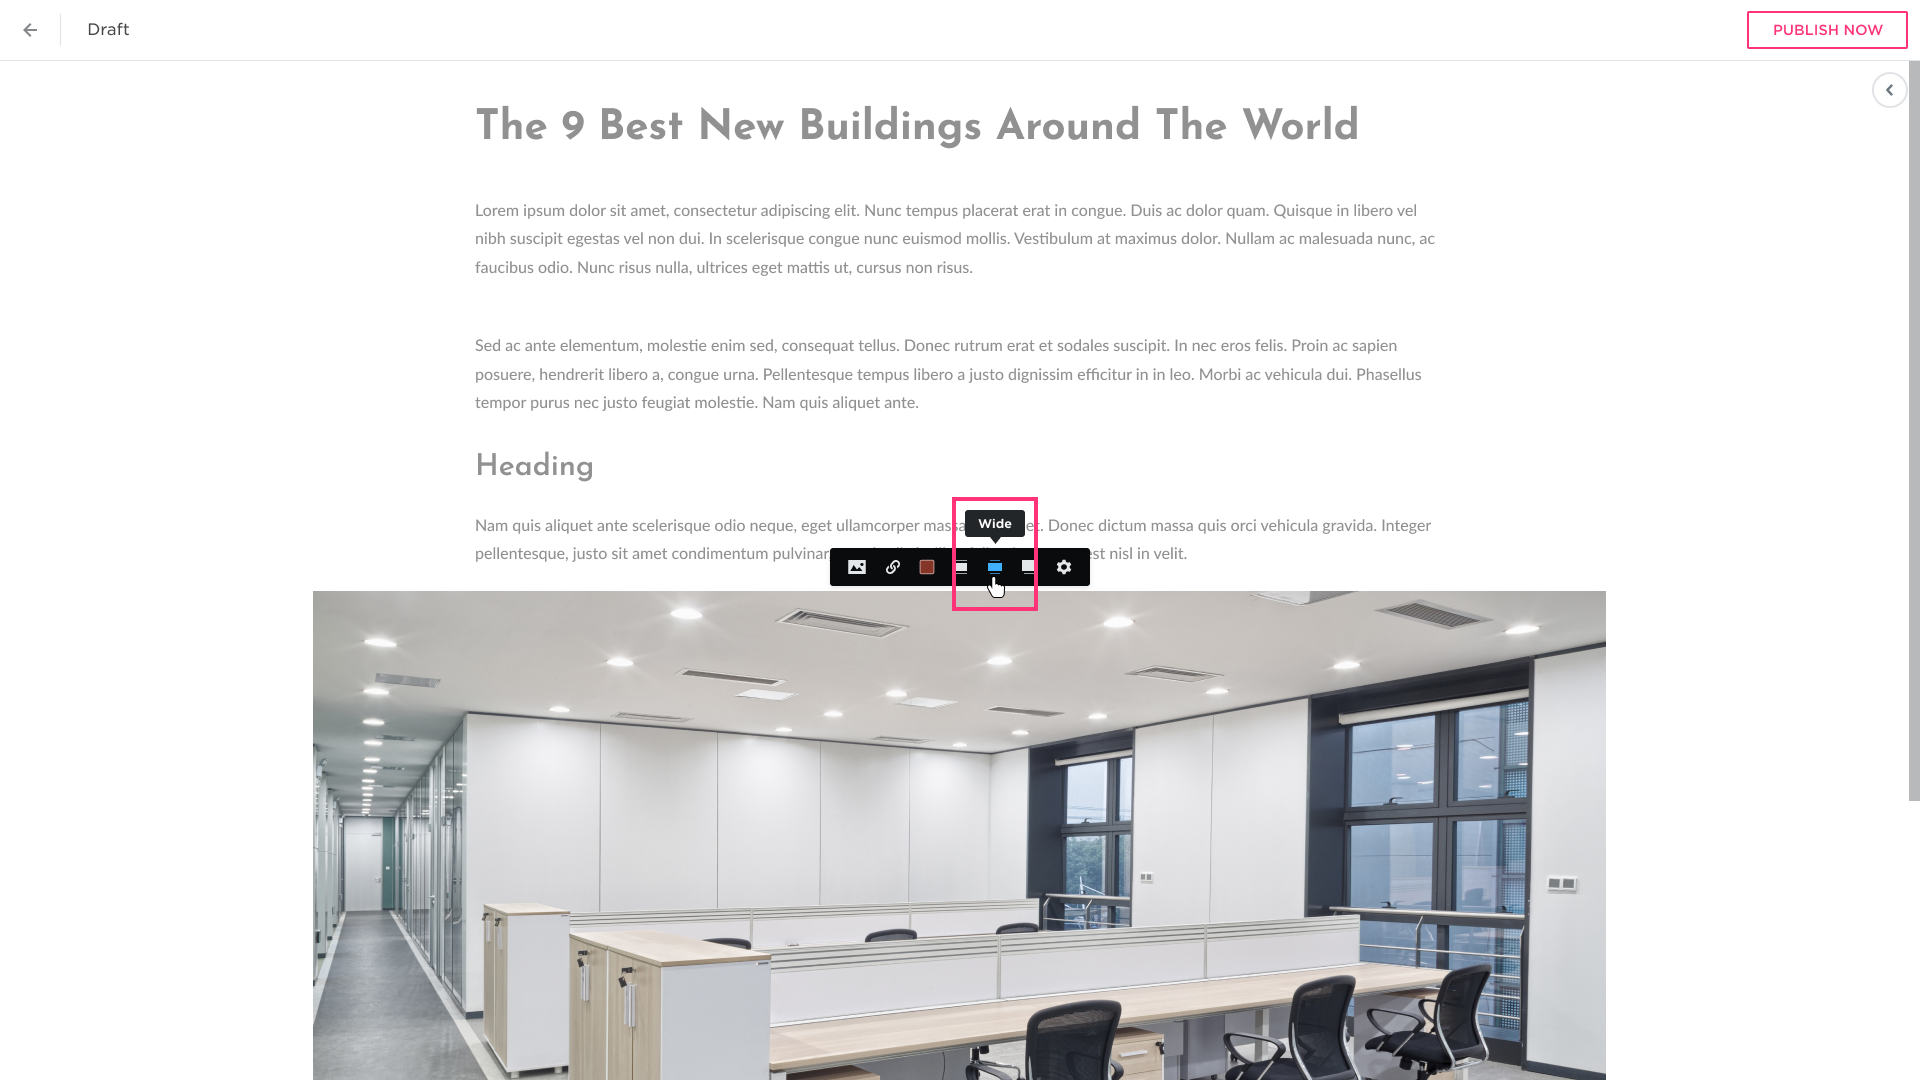
By selecting “Full”:
Use “Settings” to customize the image:
Modify settings of the image (add a caption, enable ON CLICK ENLARGE to allow visitors to view the photo in full size when they click it on the live website): 
Hover over the image to move, duplicate or delete it:


Add an unordered list to your story:
Modify List using the toolbar:
Modify the Bullet Style:

Add an ordered list to your story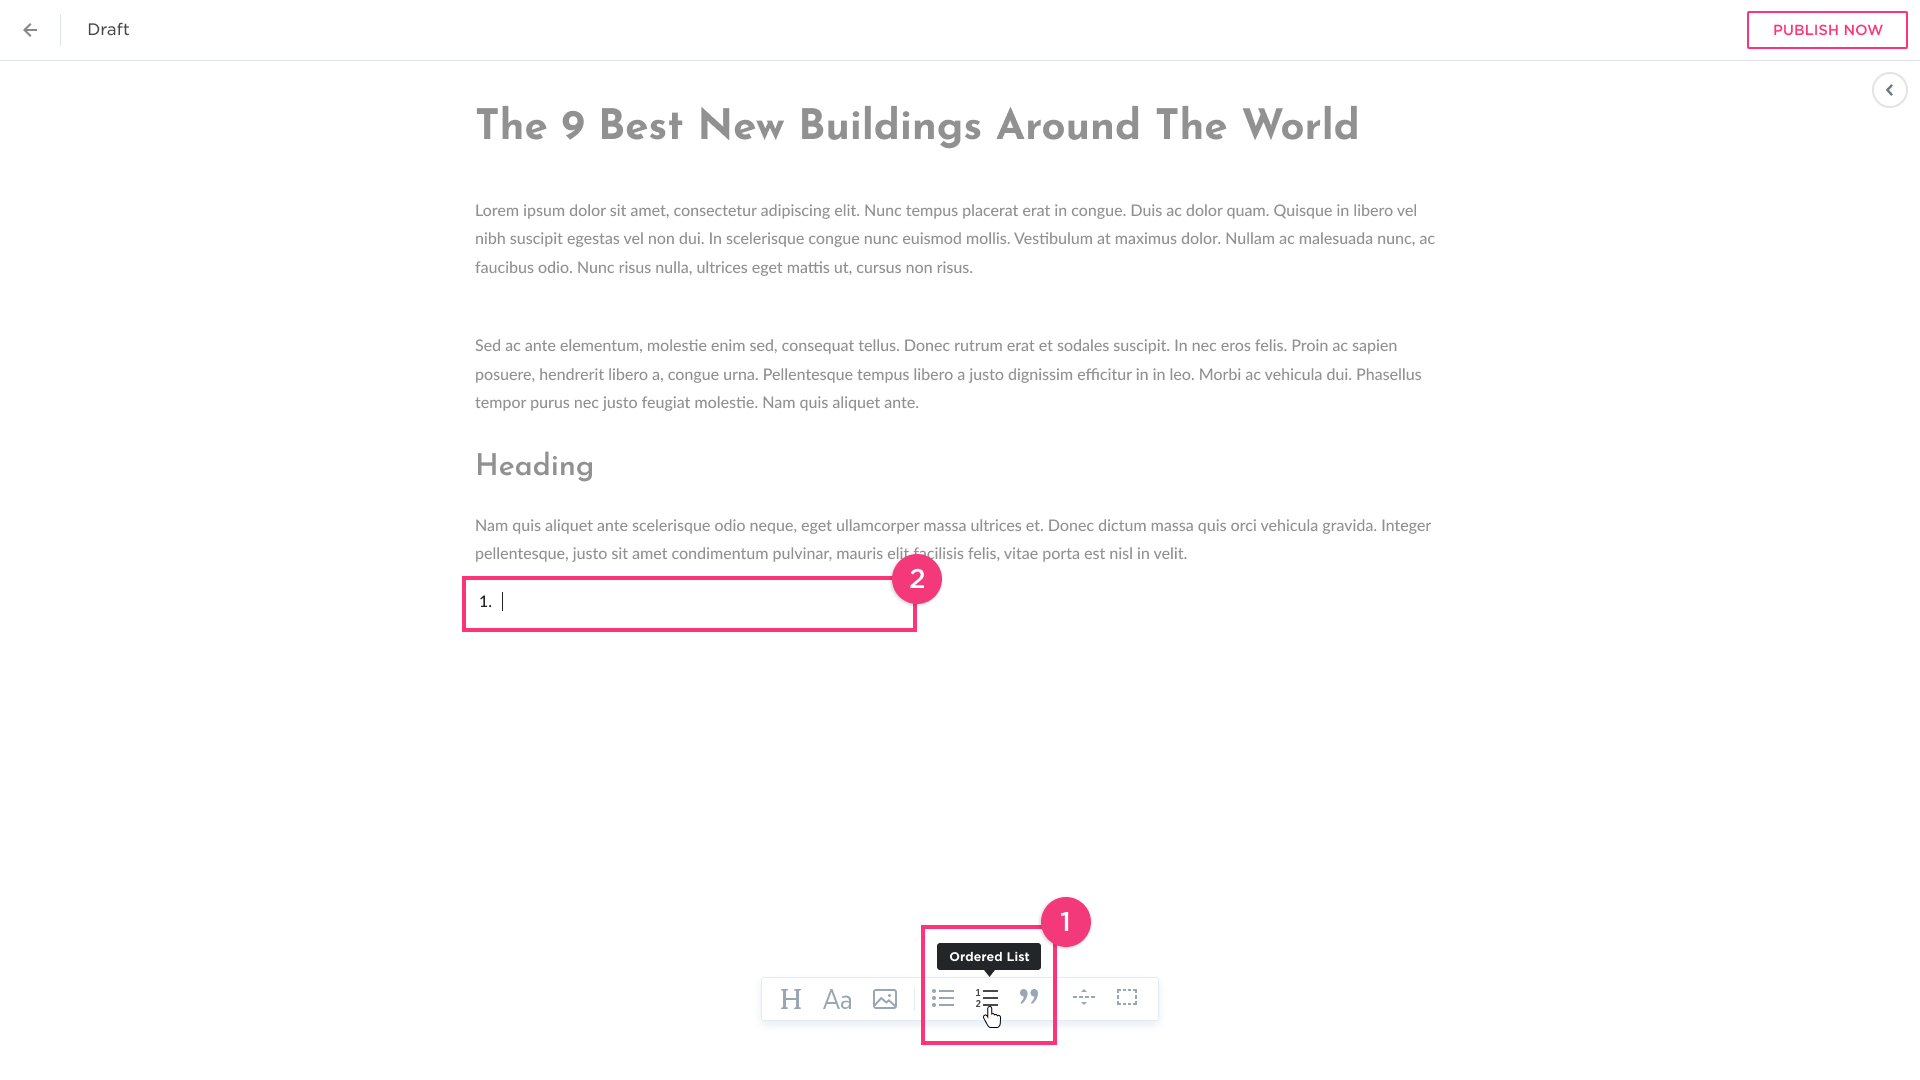

Add Blockquote:

Modify the Blockquote by using the toolbar settings:
Adding Divider
Add a horizontal line feature between other features on the post page:
Use the toolbar to modify the divider by clicking on it:
Adding Spacer
Click “Spacer” on the toolbar to add this feature to your story:
Hover over the spacer to modify it: