Customizing a Slider
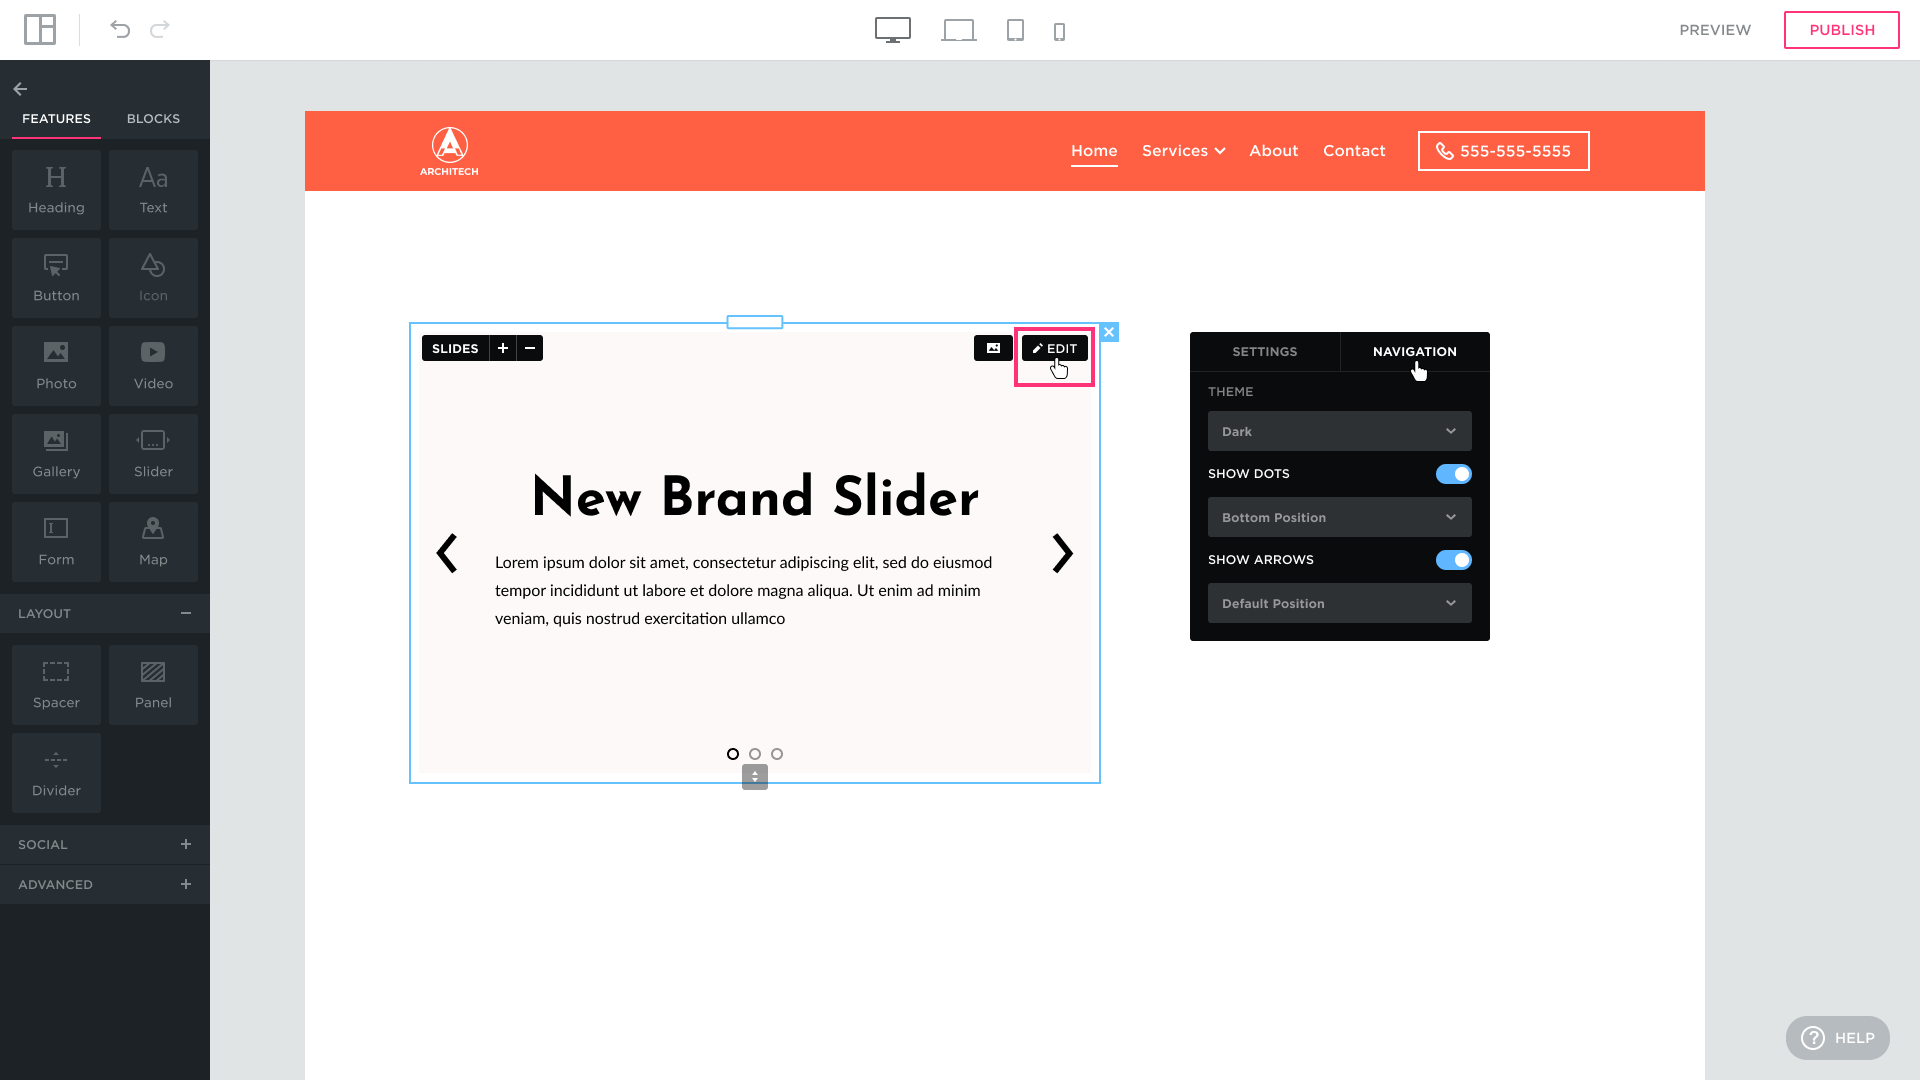
Hover over a Slider to display the Edit button in its top right-hand corner and be able to modify the settings and design:
Click the Background edit button to set up the background of your slider: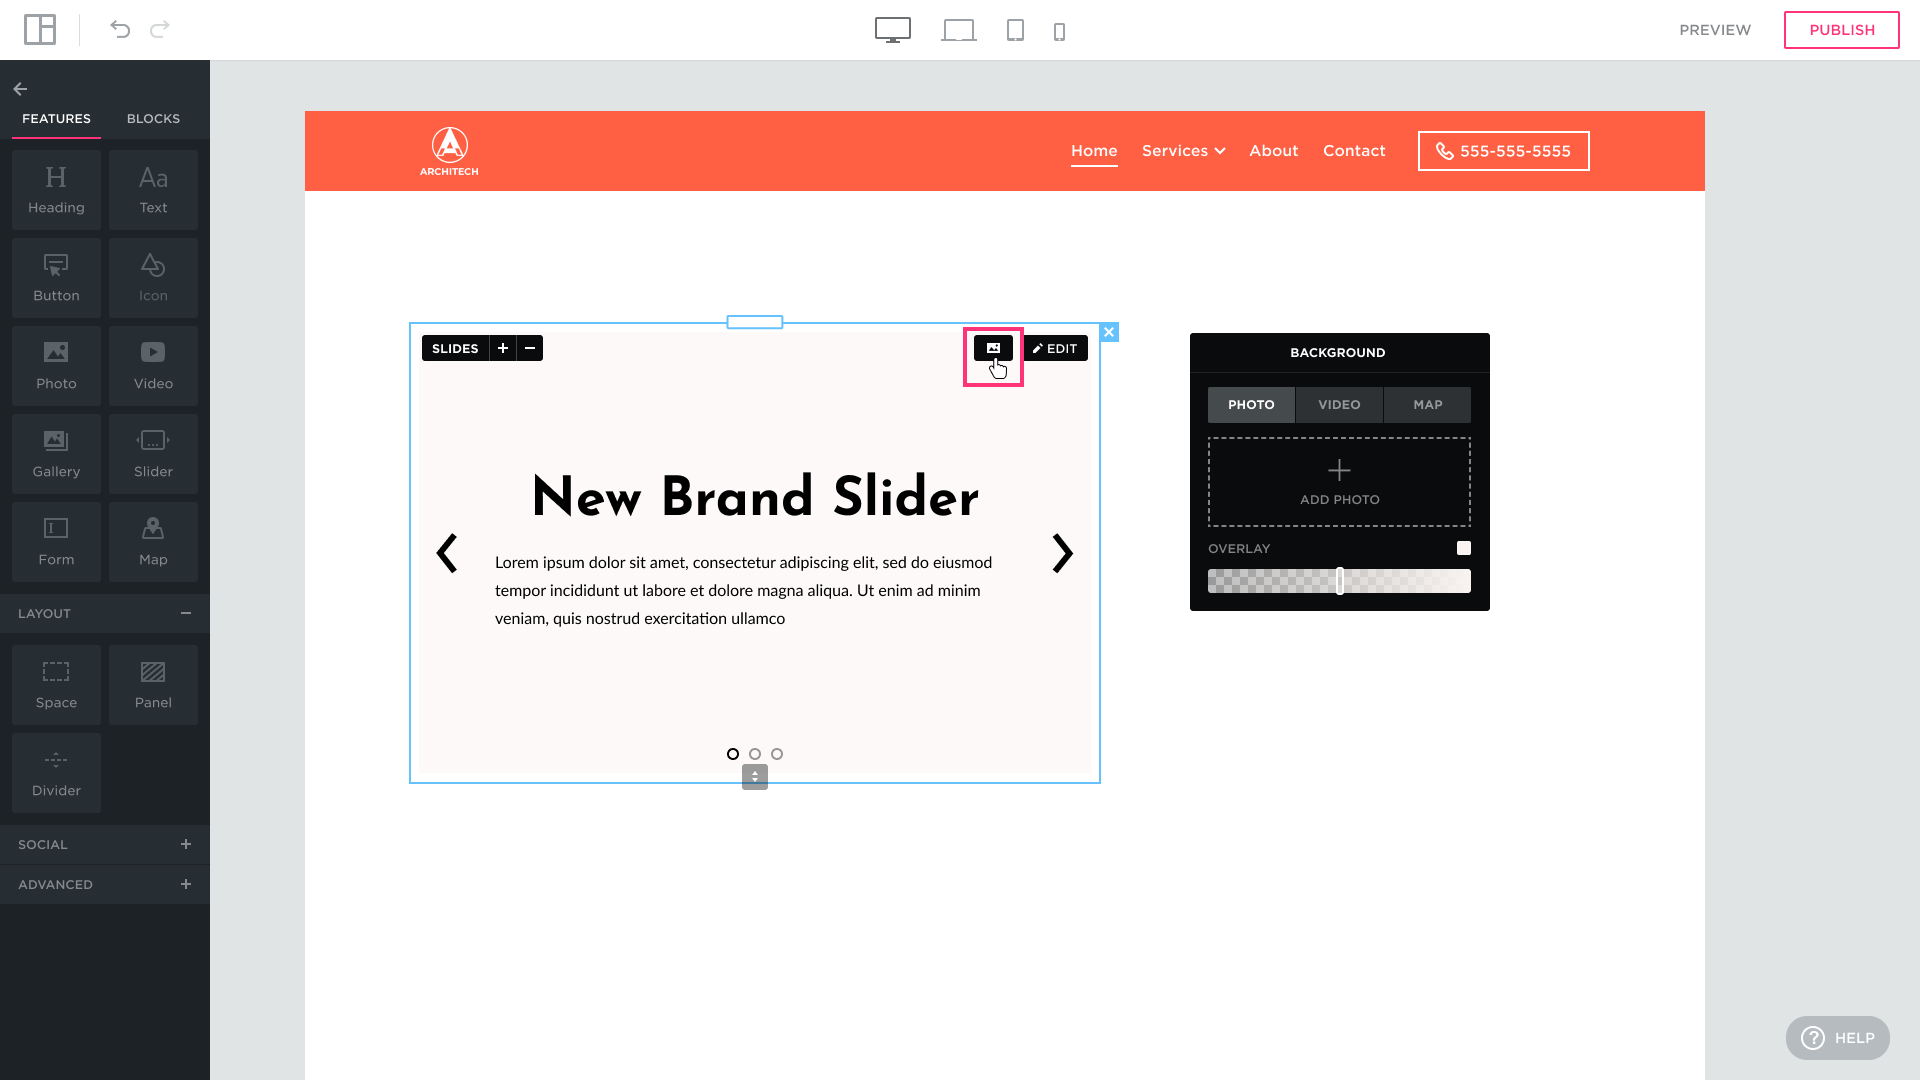
SLIDES:
- Click + in the top left-hand corner to add a new slide to the Slider.
- Click – to delete the selected slide from the Slider.

TIP: the number of dots at the top or bottom of the Slider corresponds to the number of slides.
NAVIGATION tab:
- SHOW DOTS: select where the dots indicating the number of slides in the Slider will be displayed: at the very bottom or at the top of the Slider. Deselect the control to hide the dots from the Slider;
- SHOW ARROWS: select position for the Slider arrows: Default, Left, or Right. Deselect the control to hide arrows from the Slider.
SETTINGS tab:
- AUTOPLAY: select for the Slider to autoplay whenever a visitor accesses the page. Drag the AUTOPLAY timing control to set the transition time between slides (in seconds). The autoplay stops whenever a visitor hovers over a Slider; when the cursor is removed, the autoplay resumes;
- LOOP SLIDES: select to loop the slides for the autoplay; the slideshow will keep replaying until the visitor stops it;
- ALIGN VERTICALLY: select to vertically align slides and other elements of the layout inside the Slider (for example, an image you add to the slider as shown in the screenshot below). In other words, select the ALIGN VERTICALLY control to place the elements into the center of the Slider).

 Set the Slider as a background of any block. Background tab provides you a selection of background types PHOTO, VIDEO, SLIDER, MAP:
Background Slider: Provide the ability to set a slider as a background: